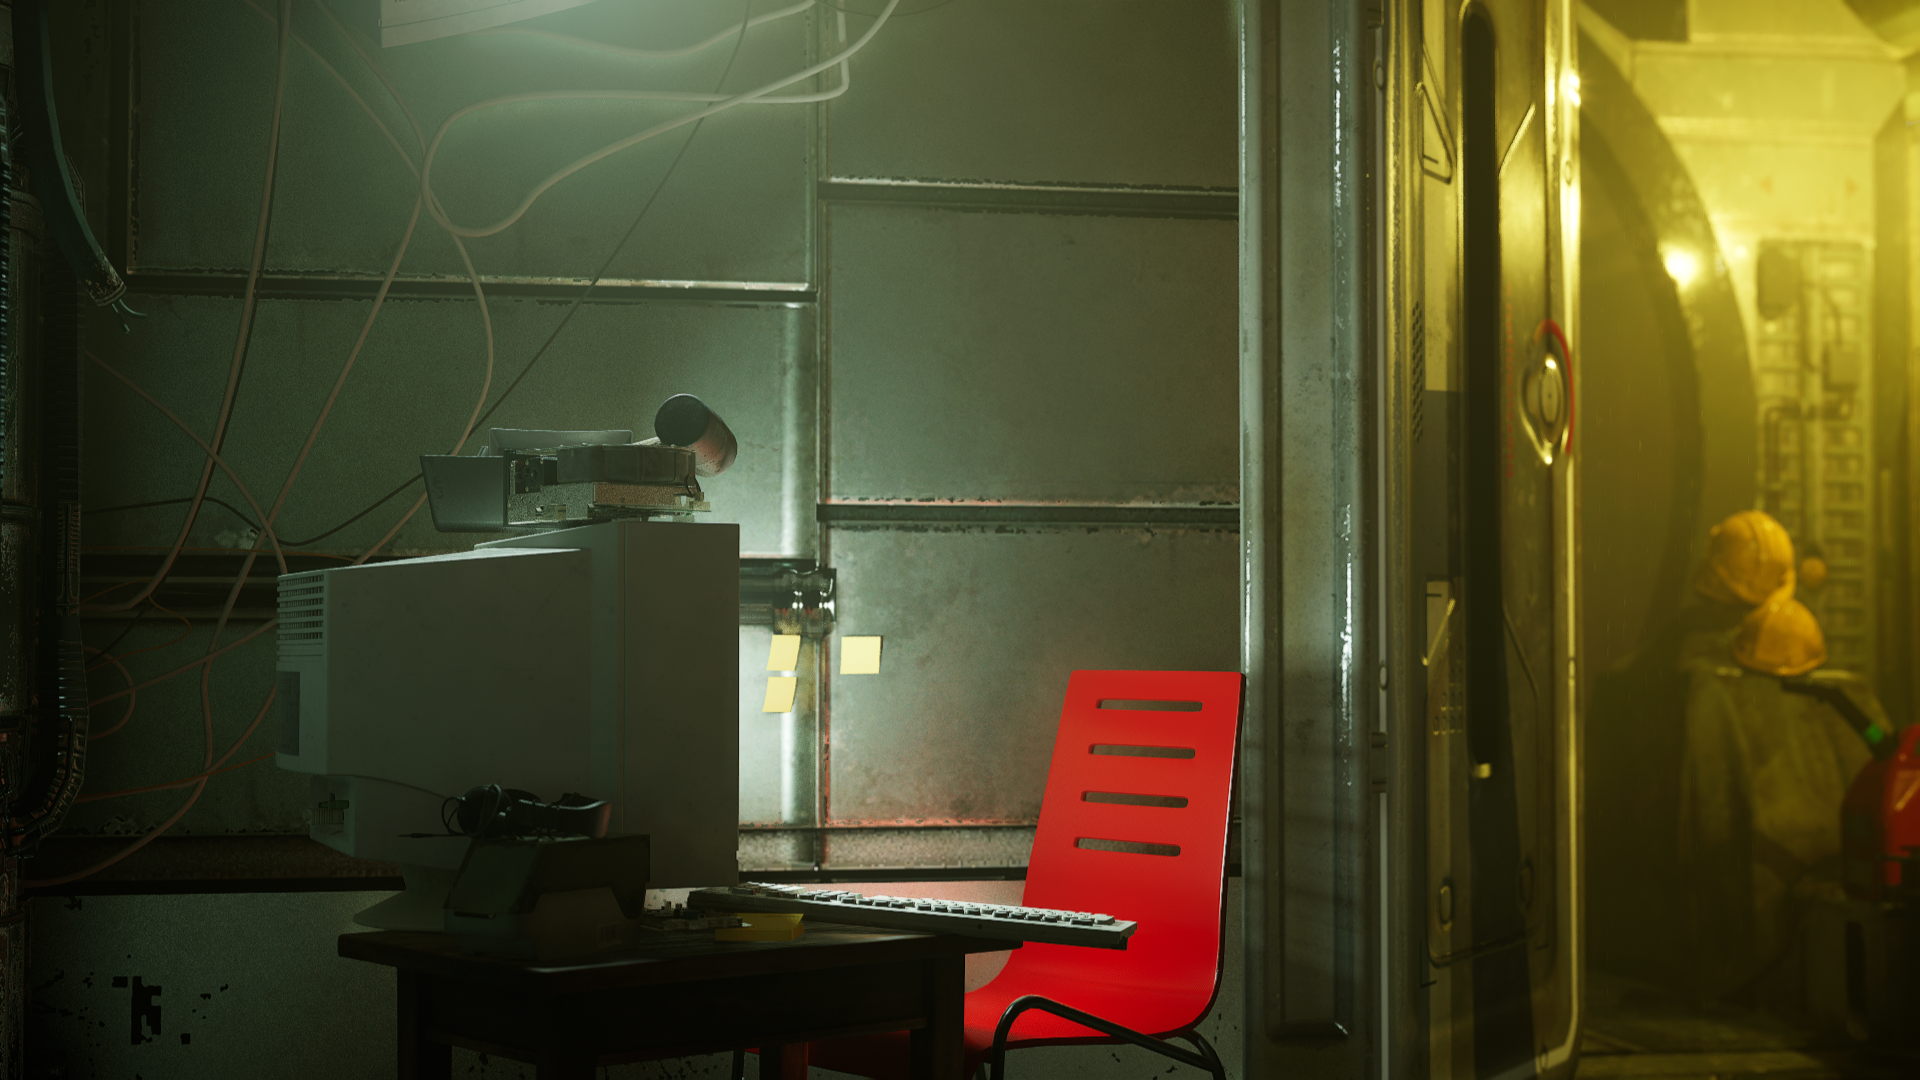
Tag Archives: art

Unreal Worldbuilding Fellowship 2022

I was able to participate in the Unreal Fellowship for Worldbuilding this year. This was an intensive full time 3 week course. There were over 160 hours of online instruction with additional supplemental follow up reading or videos after each class. There were 105 other attendees, all split up into teams with Mentors and Teaching Assistants. These smaller groups allowed for one on one time, to be able to individually answer questions and guide the assignments, and we had weekly Scums to go over the work in progress and get feedback before sharing with the entire group. The overall focus of this Fellowship was on Worldbuilding, gearing up the skill sets for Environmental, Level design and (VAD)Virtual Art Dept artists. Specific focus was dedicated to the newest features such as Lumen and Nanite in the Unreal Engine as of UE 5.0.3.

One of the really smart things Epic is doing with the Fellowship programs, in addition to providing hands-on experience and training with the tools, is that they want to try and inspire a community around the classes and the engine. The groups were encouraged to work together sharing our progress and our work together discussing ideas and processes. There were people from many backgrounds, at all levels, including freelance and tech artists, VAD, CG supervisors, and VP TDs as well as people who had never used Unreal before and it was really interesting to share this journey with them all. There was also an added social aspect of the Fellowship, which included additional optional coffee meetups and happy hours to build up these connections and friendships. It was a good atmosphere for learning, with so many eager people all wanting to share resources and find answers. For me as a Virtual Production Supervisor, it was especially interesting to be working in-engine alongside people from Amazon, Netflix, Dneg, and Pixomundo and other smaller ICVFX stages and hearing about their experiences. As alumni we are are encouraged to maintain these connections and continue to come back for future Fellowships, and assist new Fellows.

For me, in addition to a chance to develop a full scene from scratch and light content hands-on this was also an opportunity to work on optimization methods and profiling to ensure scene performance within hardware constraints, and I was able to build my scene and work through the full course from my laptop; and Predator Helios 300(Intel(R) Core(TM) i7-10750H CPU @ 2.60GHz 2.59 GHz, 32.0 GB RAM, NVIDIA GeForce RTX 2060 )  
I was struggling early on as this project grew to fit it within these hardware constraints. I eventually managed to get into a workable state, but it took some conscious effort and a lot of work; key factors were dropping the scalability settings to low wherever possible, and working in unlit mode for layout tasks. Once I needed to really see and evaluate with full lighting and textures, what I ended up doing was running the audit, bulk editing all my textures to a max resolution, with a few select hero elements of 2k, and everything else lower, converting everything to a VT.

Worldbuilding

For the themes in our Worldbuilding projects we were each assigned random dice rolls on the “Worldbuilding Configurator” spreadsheet. This was basically a D&D chart of themes, ideas and styles which we used to design our scenes and the randomization factor was included to help push us out of our comfort zones.

Setting; Crew Quarters/Office/Lab,

Architecture; Modern, 

Visual Style;  Renaissance, 

Environmental Condition; Thunderstorm, 

Surprise Twist;1 Post-Apoc,

Modifiers;

Prehistoric, Immaculate, Glass/Ice, Hyper-saturated, Night, Water-world

Peering out from the hatch of the dark interior crew quarters, claustrophobic, full of modern pipes like a post apocalyptic u boat. 

Seeing out onto the ancient glacial glassy shore of a water-world in a thunderstorm, immaculate hyper-saturated, painted in a renaissance style”

MidJourney; Concept design experimentation

  • -Cool/hot contrast
  • -Lived-in interior
  • -Mood like the ending of Frankenstein
  • -Complex ice shapes

  • -Saturated Ice
  • -Dangerous
  • So saturated almost glowing, filling the sky
  • -Filthy interior
  • -Weathered, cluttered

  • -Dark inside
  • -Silhouetted
  • -Rounded Hatch
  • -ships/wreckage in MG distance
  • -Frost/Ice forming in the sky
  • -Storm clouds, Lightning bolts

To get started blocking out quickly I raided the Marketplace and picked up whatever I thought might be useful to kitbash the scene together.

https://www.unrealengine.com/marketplace/en-US/product/polar-sci-fi-facility

Work in Progress;

I was pretty happy with the way the sky was set up, I started dialing in some panning textures over cards and multiple spheres using placeholder Marketplace elements. It started very celestial, with bright nebulas and feeling very spacey, but I knew I’d be swapping things out and I was most focused on getting all the parts iin place. I also started building the interior blocking a corridor from a circular portal, with spline driven wires and pipes. I spent a little tile throwing litter around with the foliage tool, and I also started blocking in the office/lab/workspace, and designing several little vignettes to try and start adding some points of interest with computers tools and lamps.

Next Steps;

At this point I knew I wanted to start improving the sky elements, to swap out the celestial cards with; Clouds, Lightning bolts, Frost, so I went back to Midjourney and generated more reference and textures;

Midground Elements

1st weeklies Scrum;

  • Make it more personal, we’re not hearing your voice here.
  • Should feel more lived in, what does this person do here, what’s their day to day?
  • It still looks too much like the asset packs
  • Tint color PPV?

I dug up some more int ref, looking for the cramped space within a U-boat; 

From here I wanted to branch out to include some new assets. These three packs from Kitbash3D fit the bill nicely;

Work in Progress;

Based on the feedback from my Mentor TA and team during my Scrum I started setting up cameras in the scene and focusing more on what would be seen, shrinking the space and making it more confined and intimate. I took the vignette idea and made a few more scenes in the space, looking for breadcrumbs to tell a little of the story and make it a bit more narrative.

Work in Progress 12/1

For the last of my blocking here, I really tried to get into the head of the person living in this environment. I got a complex opal shader for the stone and wanted to tie the large one back to the living space and motivate the character, so I made a smaller chunk and set it up at the workstation near the bunk. I started logically moving the parts of the vignettes; the heavy saw workstation needed to be close to the outside door, there should be a landing for the boat and clear path to reach the gemstone, etc, because I wanted to feel like it all made sense.
The next big task was replacing the simple water card with the engine’s more complex water tools, and I was able to integrate an ocean with simulated waves. This made it possible to float the ship too! Since UE features some basic water physics via the buoyancy actor, which I was able to add to the ship with some pontoons and after a bit of work figuring out the mass and pontoon placement I had a ship that was bobbing nicely in the choppy waves.

With only a few days to go, I had to make an effort to be a bit organized with what I could do and make some priorities. With so many possibilities it was easy to sit down to make a change, get inspired and go down a rabbithole, I knew I wanted;

  • -Translucency/refraction in the gemstone
  • -Godrays in the lights
  • -A simulation for dust/steam atmo
  • -Dialing in the PPV
  • -Rebuilding the mountains with the landscape tools
  • -Rain?
  • -camera shake?
  • Door animation

. . .

I just received this lovely #oldhammer illustration from @tonyhoughart .The Original Oldhammer Artwork group on Facebook shared it and I knew I had to have it. It was done in 1988 and published in the first #roguetrader supplement, which was one of my first gaming books when I first started in the hobby. I'm super excited to have framed it and hung it up in my den now! #art #40k
.  .  .


Shellmen 2018

IMG_5577


Resin casting materials

Definitely easy to get overwhelmed with materials. I assume someone pointed you in the direction of Silicone for your molds? Thats first and most important. You can use a lot of other types of rubber for molds, some at even half the price or less than silicone, but believe me silicone is the best and what you saved in money you end up putting back in time and sweat, especially when you’re just starting out, and Silicone is a lot more forgiving.

To start casting some resins are better for certain things than others. All have their pros and cons; like polyester resin is great if you’re doing fiber glassing, want to make clear(ish) parts or just need to save money, but it can be a bit brittle, it reeks to hell and back, so you need ventilation/respirator, and the chemistry involved can be a bit weird as far as calculating how many drops of catalyst to add to the mix, but mess that up and you end up with a sticky toxic mess that will never cure …

Epoxy resins generally will give you better clarity, and doesn’t ‘feel’ as toxic as polyester (respirator is still a good idea) but generally are thicker (like honey or molasses) so you’ll have trouble with air bubbles trying to cast with it, I tend only to use those for water effects in terrain or like clearcoating tabletop/furniture…

The best resin for miniature casting IMO is Urethane resin. Its (usually)a two part 1:1 mix, pretty forgiving if measurements aren’t dead-on, as in you won’t have that sticky mess if its slightly measured wrong. When hardened its pretty similar to plastic, maybe a tad more brittle. My recommendation would be for Instacast from Smooth-on if you can find a local supplier. I live close to this shop, and the owner is a cool guy so I usually get it here; DOUGLAS and Sturgess

This is my Silicone of choice http://www.douglasandsturgess.com/mm5/merchant.mvc?Screen=PROD&Store_Code=DAS&Product_Code=MC-1069&Category_Code=POLYURETHANE-POLYRESINS

or something like this; /https://www.smooth-on.com/products/smooth-cast-305/

if you click the smooth-cast section here it breaks down the pot-life vs cure times for their casting resins, you definitely want a few min to get it mixed and poured, (and pressurized if you’re going that route too) but you prolly don’t want to wait overnight for every cast, so 20min-to an hour would be reasonable https://www.smooth-on.com/category/urethane-resin/

The other domestic supplier I’ve had good luck with is Silpak – pretty similar products to Smooth-on and DnS http://www.silpak.com/#

For your first test you should do something simple to get a feel for the process, like bases or a flat.

This icon came from this mold, it was easier to pour a partial cast than try and cut from the panel

For a 3D object like a mini, you’re going to need a box mold, but that gets into planning vents and cutting the mold open, which is another set of challenges

It can be tricky, but once you get the idea it’s not too hard, and I’ll discuss that later


Castle Greyskull pt1

Challenging myself to make a quick castle from scrap this was about an hour in #castlegreyskull #miniature #terrain
. . .

Some inspiration;


LOADR rigging

Computer is working better than ever after getting the full 24gb RAM configured, and playing with a little rigging in maya digital version of my photo scanned stop motion puppet
.  .  .

The #LOADR has working joints now, but still working on the skinning to fix a few spots. The full clip is here https://youtu.be/2El86ZvSds4
.  .  .


Making Ink washes

This was my process for making my own ink washes; I used 4 or 6 small mixing cups, and picked 2 or 3 colors,

I started with about 50/50 water/pledge and a second cup water/matte with a few drops of ink,

I set up a ton of zombie minis. As I mixed I’d test on a mini, add more ink, more matte/polish test again.

Very unscientific but by the end I had a ton of finished minis and a few pots of ink washes I was happy with!


thanks for reading!