Tag Archives: cement
horse scull
another tube of caulk
cement blocks…
Barron head. Cast #cement #art
Please don’t remove that. It’s just an empty symbolic file
" data-image-caption="" data-large-file=";https://isdrab.com/wp-content/uploads/2017/01/36afa-16122551_1853138038288350_3196166077289594880_n.jpg" />Pool restoration pt5
continued from Pool restoration pt 4
Next is the tile line. This is the fun part, where its becoming about the final look, the aesthetics, and not just the steps needed to fix the structure.
We’d been bouncing ideas around for awhile, and went to about five different places to look at them in person, eventually narrowing it down to four tiles. I put this in the parking lot to get a sun lit picture with light curb to simulate the coping and tar for the dark plaster I’ll be using;
Untitled by bradisdrab, on Flickr
I asked friends and family and the consensus was the third one, with the hint of blue, but at 6x the cost I couldn’t rationalize it.
We ended up planning a combination of the first two. These ones were just porcelain tiles, but since we live in CA and don’t have to deal with freezing or extremes it shouldn’t be such an issue.;
Untitled by bradisdrab, on Flickr
The green is slightly larger than the rust/orange, so I planned to space them eveny and use it as an accent.
Untitled by bradisdrab, on Flickr
One of the reasons we settled on these is because it would go well weth the slate facade we were thinking of using on the retaining walls around the yard.
Untitled by bradisdrab, on Flickr
I also grabbed some quarter round for the step edges and such.
Holding it up I could tell the curves were too tight for tiles that large;
Untitled by bradisdrab, on Flickr
That could only mean one thing, time to head back to Harbor freight!
Tile saw! I love being so close to #harborfreight by bradisdrab, on Flickr
I managed to get this tile saw for a deal, and started chopping some of the tiles in half to fit the curve, it ended up getting pretty late the first night when I finished putting up the first tiles,
Untitled by bradisdrab, on Flickr
but I managed to get pretty far considering I started late and had to make a few supply runs;
Untitled by bradisdrab, on Flickr
I used 1/8 plastic spacers, and if I’d had it to do over again I’d have pulled them back out as the mortar dried rather than leaving them in to dry,
Untitled by bradisdrab, on Flickr
but overall I’m happy with how it was coming along;
Untitled by bradisdrab, on Flickr
Next was the main drain, I’ve heard it didn’t *need* to be replaced, but I figured while I was updating everything else, why not?;
Untitled by bradisdrab, on Flickr
I pulled it out, and some of the plaster around it was still a bit funky;
Untitled by bradisdrab, on Flickr
I ground out the bad stuff and prepped it for the new cover;
Untitled by bradisdrab, on Flickr
and cemented it into place;
Untitled by bradisdrab, on Flickr
Another solid day’s work, with some help from my friend Kyle, and we’d managed to get most of the way across the pool.
Untitled by bradisdrab, on Flickr
My fiance Leslie made some time to help with the tile for the deep end and saved me a ton of time, since I could stay on the ladder and she could prep, mix mortar, cut tiles, or pass me whatever tool I needed.
Untitled by bradisdrab, on Flickr
Its hard to tell in the photos, but I realized at this stage that the pool itself isn’t centered/symetrical. the diving board, light and drain don’t line up with the steps. I’m not overly troubled by this, but its an interesting observation, and something to keep in mind for lining up the last of the tiles.
Since it was a favorite we placed the blue tile in the center as an accent and worked the pattern out to the sides from there. That way we wouldn’t end up with an offset tile.
Untitled by bradisdrab, on Flickr
We worked until we reached the skimmer ;
Untitled by bradisdrab, on Flickr
Wasn’t sure what to do about the skimmer, all along had been trying to convince myself to leave it tiled white, because it seemed like a lot of work;
Untitled by bradisdrab, on Flickr
But deep down I knew I’d always look at it and regret not going the extra mile, and Leslie was there to encourage me, so I chiseled it out;
Untitled by bradisdrab, on Flickr
We figured out the cuts and got it done in a couple hours, and even used some of the bullnose to make it a bit more slick looking;
Untitled by bradisdrab, on Flickr
The last of the quarter round bullnose I put as planned onto the steps;
Untitled by bradisdrab, on Flickr
And this is where I am at now!
Untitled by bradisdrab, on Flickr
The tile is all there and I’m planning to clean it up and grout it this weekend, hoping to replaster very soon…
Pool restoration pt 4
Continued from Pool restoration pt3
The next step was the epoxy injection.
Basically this is a two part foam which needed to be injected into the cracks, where it would expand into there to fill any deep spaces and fill/prevent any leaks.
The way it works is you cover the surface with a surface seal epoxy, and attach injection ports every so often;
Untitled by bradisdrab, on Flickr
These are the places to inject the foam, so its important to block/seal the rest of the crack and be sure the foam will fill/flow inside.
Also interesting to note how the stale’s epoxy has changed color over the last week as it cured;
Untitled by bradisdrab, on Flickr
Lots of ports mounted, I did this for all the cracks in the pool surface as well as the split at the bondbeam;
Untitled by bradisdrab, on Flickr
Then I injected the foam itself,
Untitled by bradisdrab, on Flickr
I used three kits and did it in several passes,
Untitled by bradisdrab, on Flickr
The foam/epoxy made a big mess, but I think it got everywhere it needed to be (and then some)
This was in the middle of applications, as you can see the top near the bondbeam needed a bit of patching;
Untitled by bradisdrab, on Flickr
More injections!
Untitled by bradisdrab, on Flickr
I also started doing some testing with hydraulic cement; patching over the exterior of minor cosmetic scratches, in gaps near the bond beam, and on exposed gunnite.
Untitled by bradisdrab, on Flickr
After the foam had cured for a week or so, I started removign the ports as well as the surface seal;, first pulling the ports and chipping away large chunks;
Untitled by bradisdrab, on Flickr
This is what I wore while doing that, feeling like a sci-fi character
Untitled by bradisdrab, on Flickr
Then hitting it with the grinder to knock back more of it, and leave a sort of ‘keystone’ shape and roughed up surface so that the plaster/cement over top the epoxy wouldn’t be able to pop/shear off.
Untitled by bradisdrab, on Flickr
It seems like everything near the pool has become covered in dust from the grinding, bit it was starting to look a lot better!
Untitled by bradisdrab, on Flickr
This took way longer than I expected/planned, I’ve now officially lost track of how many bucket loads of debris I’ve carried out of here
Untitled by bradisdrab, on Flickr
I knew better than to do too thick a coat of the hydraulic cement, its more there to provide a non-shrinking plug and seal, rather than structural strength, so I tried to keep it around 1/8 inch, and wet the surrounding area to prevent it drying unevenly
Untitled by bradisdrab, on Flickr
I couldn’t stand thinking of looking at the epoxy for another week, so I worked well into the night, patching and coating it with hydraulic cement.
Untitled by bradisdrab, on Flickr
Ended up using three buckets, about 30lbs of hydraulic cement
Untitled by bradisdrab, on Flickr
Its come a long way!
Untitled by bradisdrab, on Flickr
In case anyone is reading along for knowledge, I should re-state; I’m not a professional, I’m just learning as I go, and doing my research online as well as speaking to a few pool guys while gathering info/estimates…
So I’d left off I here;
Untitled by bradisdrab, on Flickr
Hydraulic cement patch/seal over the cracks and epoxy/foam. I figure the thinness of the cement will futther seep into the cracks and seal it more, and I made sure to leave a rough texture, so that the next layers would have something to grip.
Looking at the surface I started to notice a bit of discoloration;
Untitled by bradisdrab, on Flickr
A bit of a yellowish tint and some hairline cracking in there;
Untitled by bradisdrab, on Flickr
NOT GOOD.
I knew the hydraulic cement wouldn’t be structural, but this isn’t right, and as soon as I started tapping it with the mallet/chisel I could see what was happening as it sheared off and crumbled;
Untitled by bradisdrab, on Flickr
I’ve never heard of this happening before, but the yellow seemed to be oils leached out of the sealing epoxy, which weakened the hydraulic cement, as well as the cement did not bond to the leftover epoxy much at all, so I set about knocking off all the problem spots to grind down the epoxy even more.
Untitled by bradisdrab, on Flickr
Very discouraging, but I kept at it, removing the bad material and going back down to get the surface epoxy off too. Very discouraging, but I keep telling myself, its better to go through this now then later when its filled with water…
Next I repacked it with a portland/sand mix, which should prove to be a lot stronger, and with the epoxy residue ground away it should provide a much stronger patch;
Untitled by bradisdrab, on Flickr
I left the texture pretty rough so the replaster would have something to grip.
Untitled by bradisdrab, on Flickr
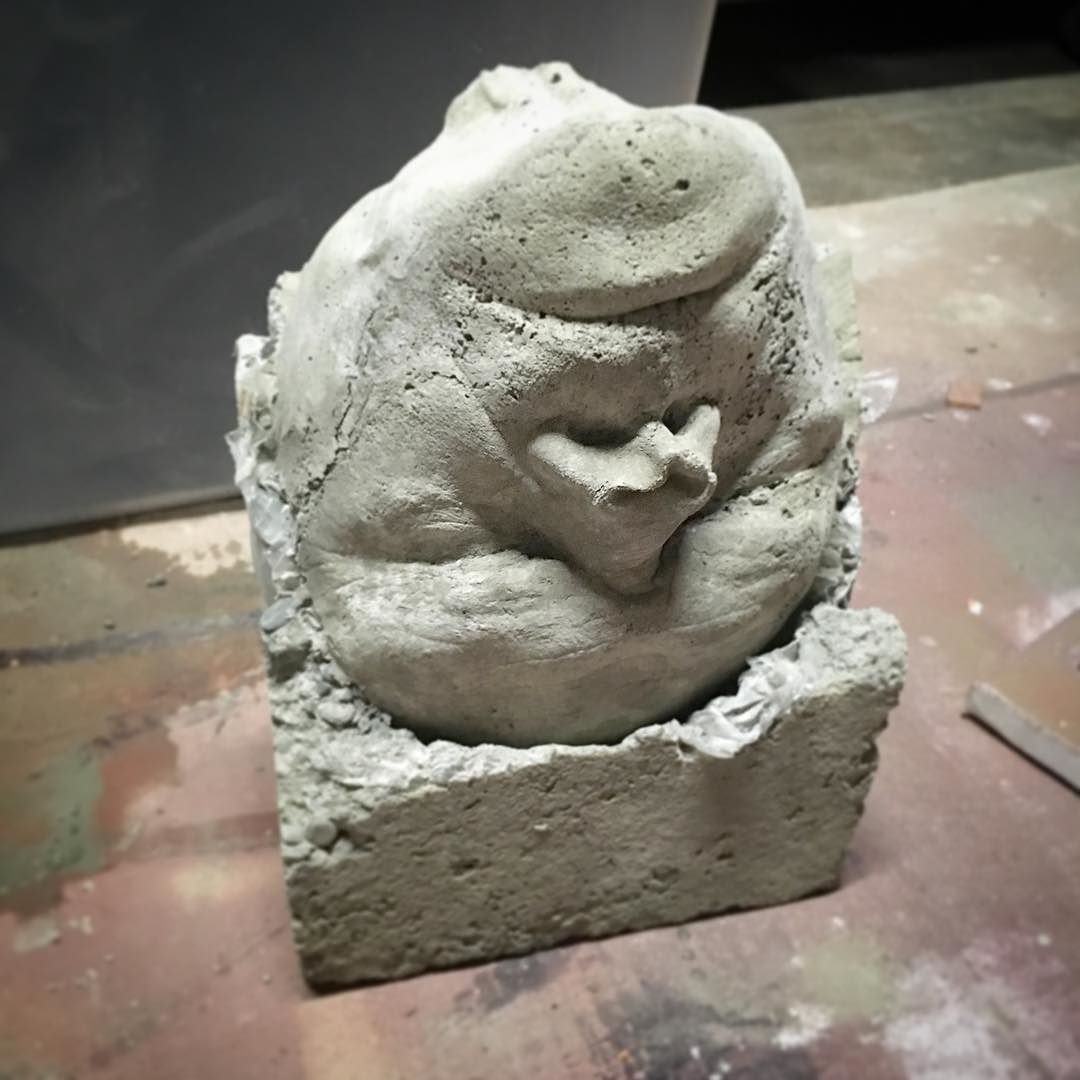
Already feeling a bit better about this, and the portland/sand mix is pretty close to what I’ve been thinking of plastering the whole pool with, so I can see how dark it would end up being, also note the root that’d been hiding under the old deck, no wonder this was beginning to crack!;
Untitled by bradisdrab, on Flickr
Pool restoration pt3
Continued from Pool restoration pt2
Now that the plaster was clean, the weak parts removed and cracks exposed I was ready to deal with them. I ordered a few different kits of materials; staples and epoxy.
I went with two kinds of staples, basically to reinforce the areas that I was worried may be weak and eventually crack again.
Carbon fiber from Leaktools
Untitled by bradisdrab, on Flickr
Steel from Torquelock – these ones interest me the most since they are engineered to apply pressure to the crack in addition to holding it.
Untitled by bradisdrab, on Flickr
I planned these out where I thought they could do the most good;
Untitled by bradisdrab, on Flickr
Masonry cutting disks in my angle grinder worked well for the countersink, but after drilling for a solid day and having my hands go numb I realized why a regular drill even with a good masonry bit is not the best way,
Untitled by bradisdrab, on Flickr
So I ran to Harbor freight and picked up a rotary hammer drill, which was AMAZING, so much better! Made the rest of the drilling a breeze in comparison. It was like the difference between when I was chiseling by hand vs when I got the air chisel.
Untitled by bradisdrab, on Flickr
A lot of staples… just cutting, drilling, and plotting them all out first;
Untitled by bradisdrab, on Flickr
Might have been overkill for some places, but figured its better that way, than not doing a spot and having that be where it re-cracks;
Untitled by bradisdrab, on Flickr
The staples were set with a special epoxy;
Untitled by bradisdrab, on Flickr
Starting with all the carbon fiber ones;
Untitled by bradisdrab, on Flickr
Then the steel ones, the epoxy is harder to see since its just on the inside, but it was applied to the posts and face surface, then pressed into place. After that I twisted the cam to apply more pressure by drawing the posts closer together;
Untitled by bradisdrab, on Flickr


