Continued from here
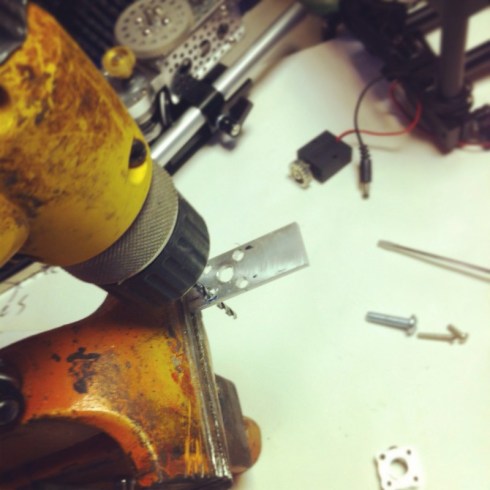
I’ve made progress on Cambot. I drilled up some stock aluminum bars to fit between the gearing and the rail mounts so now it is all secured together. I also swapped out one of the axels for a carriage bolt so I’d have a way to tighten it down.
So far I’ve worked out the pat/tilt mechanisms and it seems to be working pretty well. I’m driving the two DC gear motors via a Dynamic perceptions AT2 controller.
I’m still a bit concerned about the overall weight and size. I wanted to avoid unnecessary strain on the motors, so I took the camera off the mount while testing it.
Here it is fully assembled;

Sadly immediately after this test there was a ‘pop’ noise and since then the 12v DC adapter I’ve been running this from stopped working. This was a new power supply, purchased with my AT2 and used only 4-5 times no longer than an hour each time, and and it was hooked up to a surge protector, so I’m at a loss to explain what happened to it, manufacturing error perhaps?. I have no way of testing to be sure it didn’t fry the controller or motors, I can only assume(hope) that is as far as the problem extends. I’ve got a replacement on the way …
I keep reminding myself that I started this project to learn what goes into building something like this more than I did because I couldn’t afford a packaged system.
Continued here;
http://isdrab.com/2013/10/08/cambot-pt5/


October 3rd, 2013 at 21:40
[…] Continued here; link […]
October 8th, 2013 at 17:20
[…] Continued from: http://bradisdrab.wordpress.com/2013/04/30/cambot-pt4/ […]